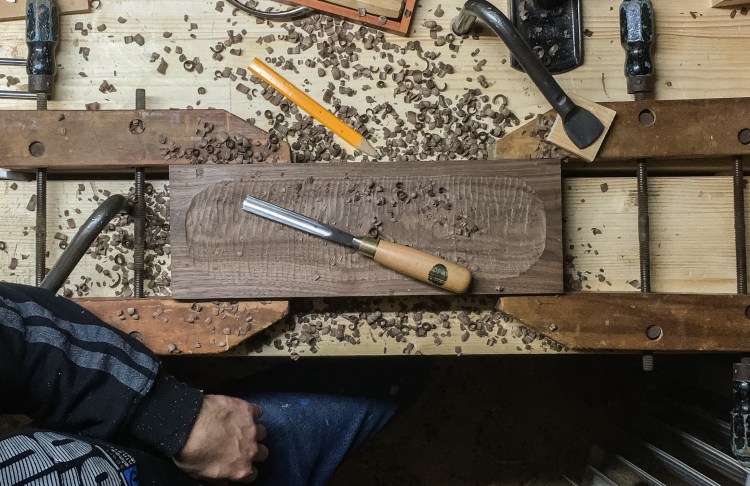
I started carving the lid for a wee chest I have made. I made the chest in oak but, although I punish myself regularly, the carving will get done in black walnut, a very agreeable species to carve. I had a few unusually clear boards to chose from which helped as well.
First, the underside gets a lightly scalloped and textured surface with the edges left intact.
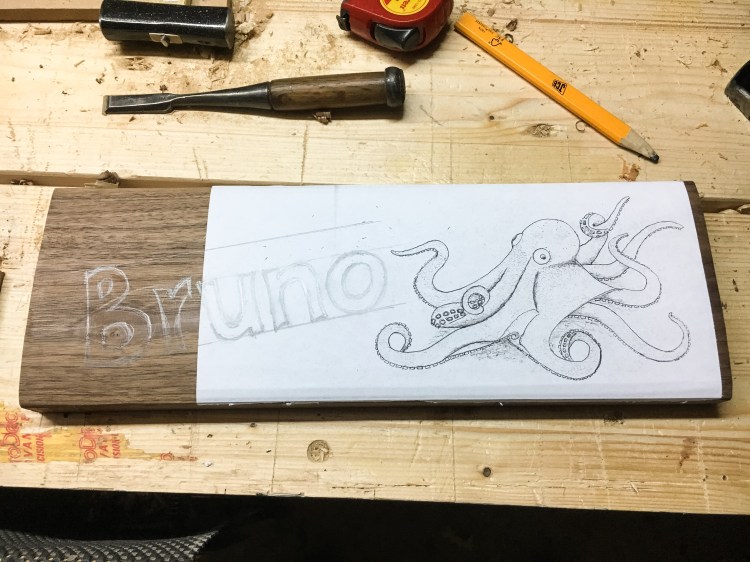
On the top, spray adhesive gets a photocopy of the carving design stuck onto the surface so that I can carve through the paper. You can’t see the grain this way but it’s quicker than drawing it all again. I just letter in the recipient’s name.
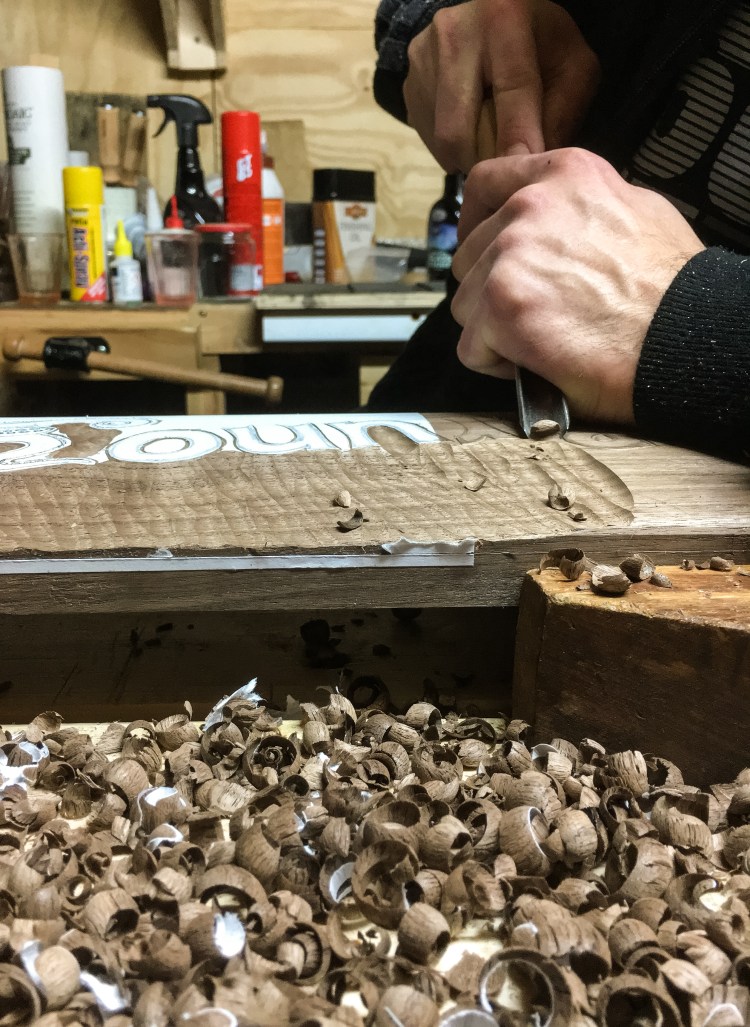
Wasting away the background. You could probably do the bulk of this part with a power router but going entirely by hand builds skill. And character 😂.
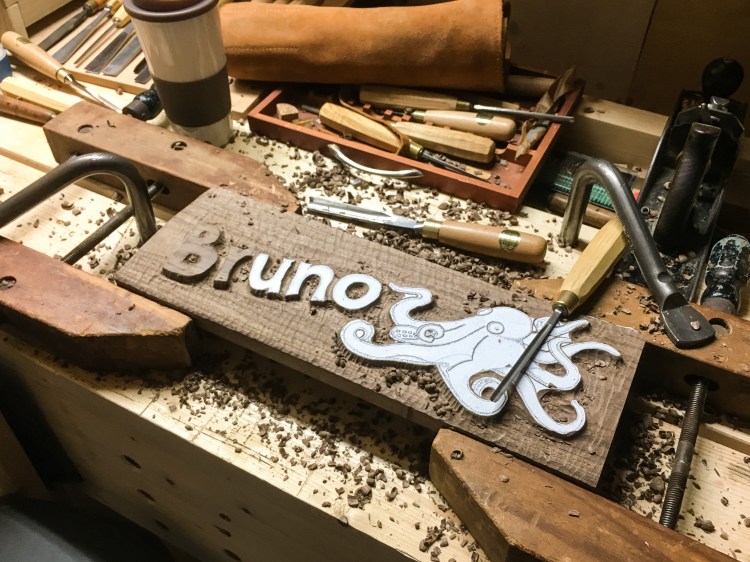
Most of the raising complete. A few of the tighter bits left and then the real fun will start: modelling and detail work. Photos of that to follow.


Looks amazing, well done 😀
LikeLiked by 1 person
Thank you Jen, that is very kind. Still a fair bit of detail to go in.
LikeLike