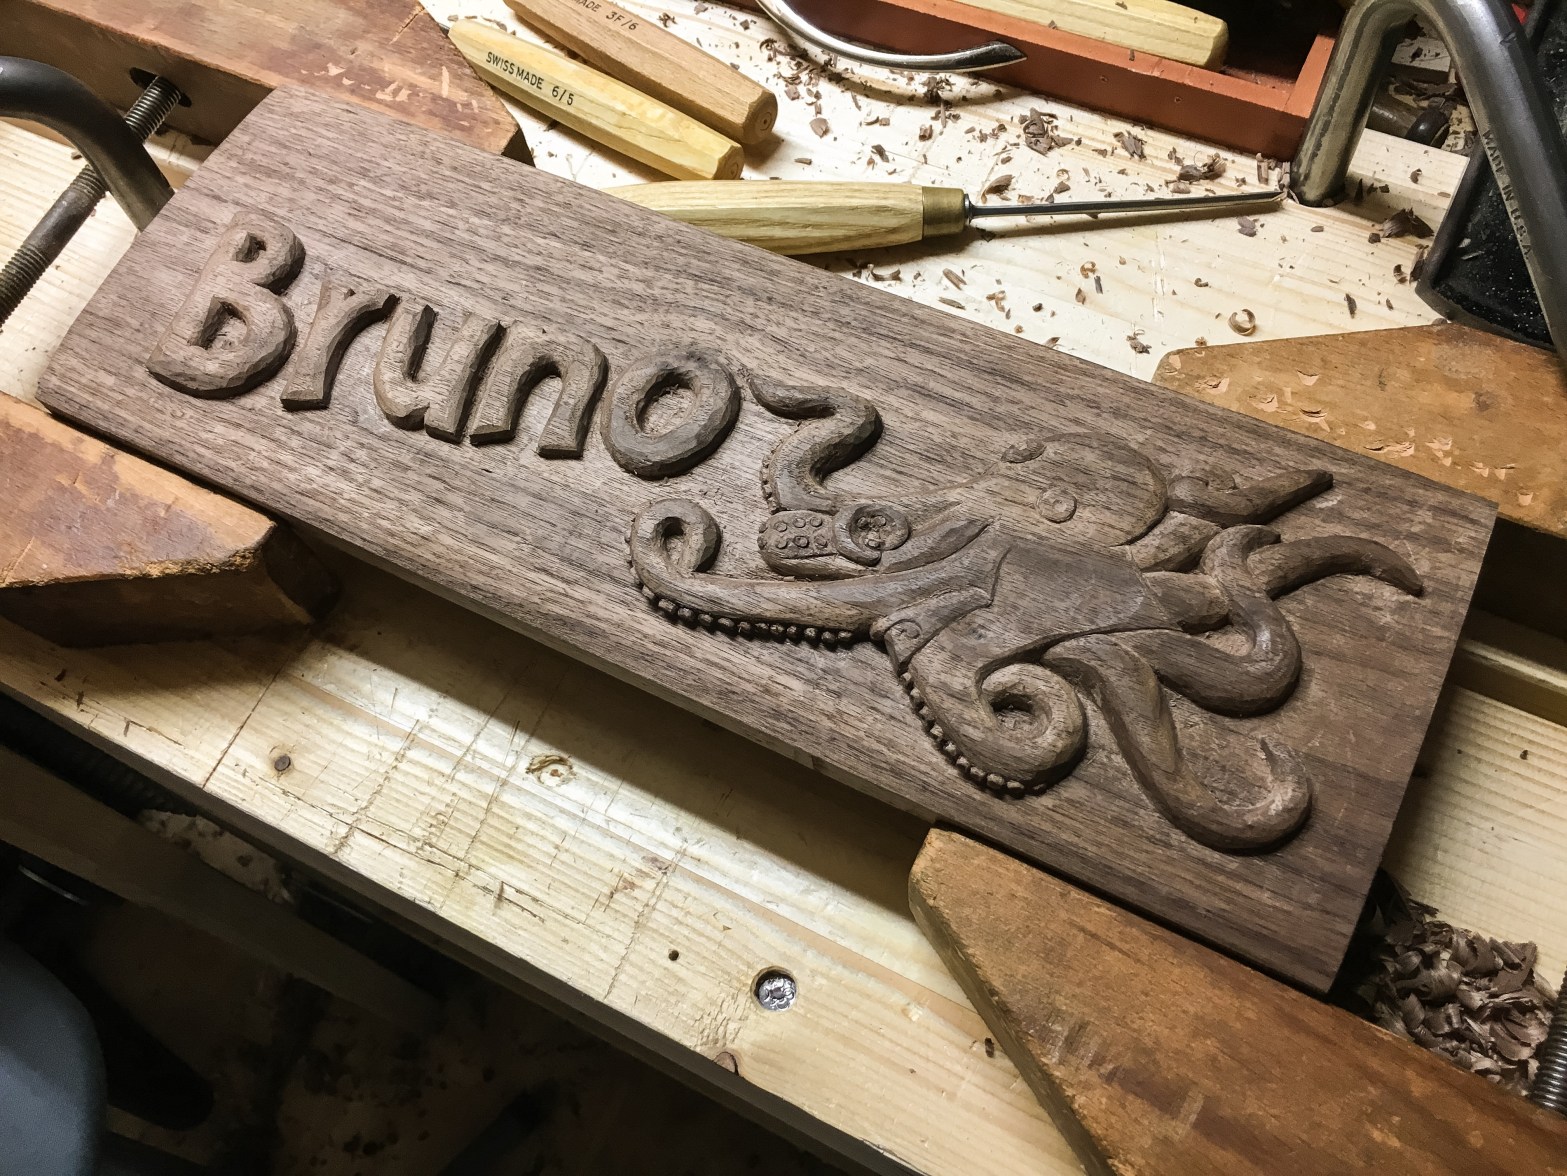
I’m back to the carving on the lid of the Viking chest. After wasting away most of the ‘negative space’ material from the background, time to do some further shaping and to put some detail in.
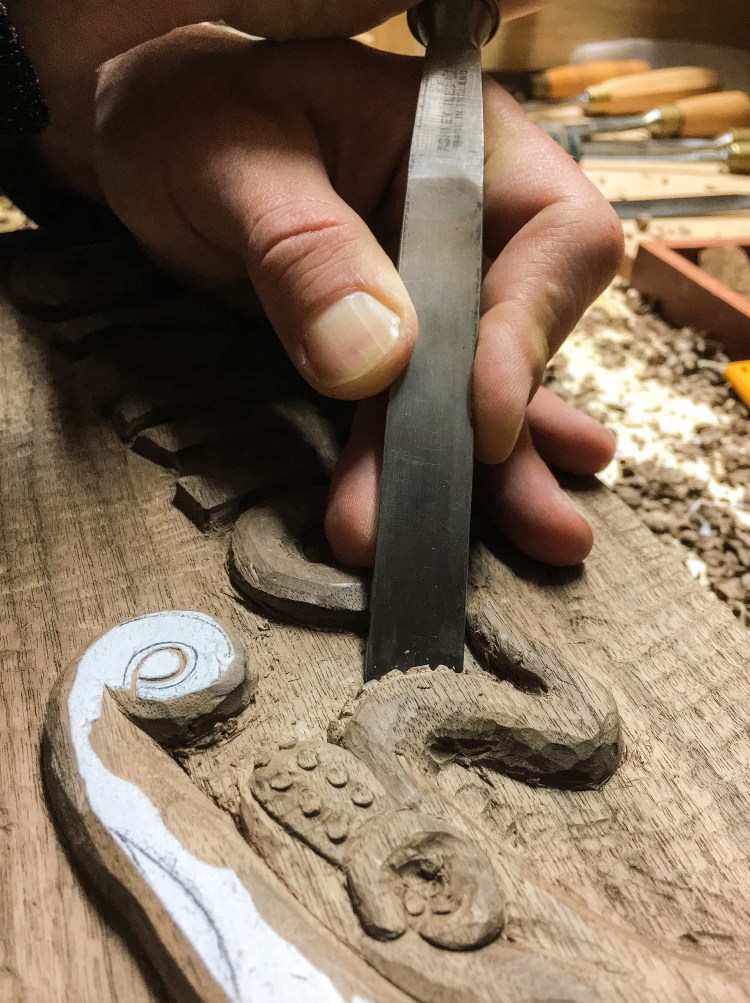
Suckers. This is small scale repetitive work and I wasn’t sure what I wanted to do here, really, so I tried a couple of approaches on a section. I forgot I wanted some suckers on a section where they face directly up and I hadn’t left enough wood for them. Worked around that ok, not ideal. At least by the time I got to do further arms I worked out a sequence to simplify this part of the work.
The main thing I try and accomplish is something with good balance and proportions that doesn’t look mechanical.
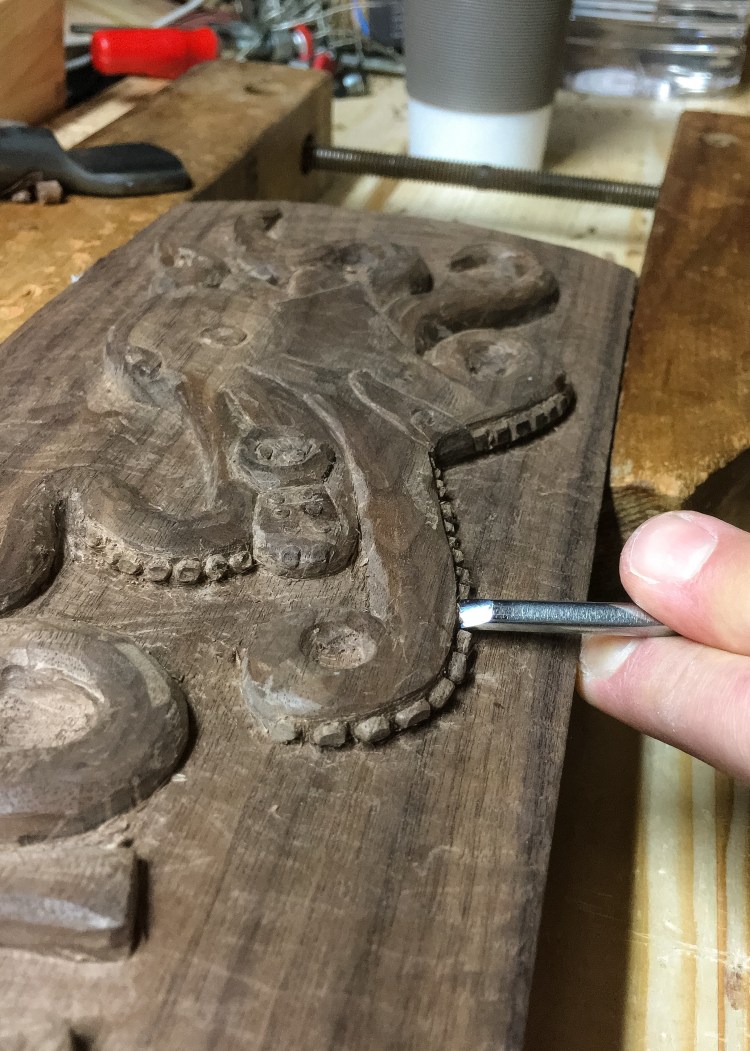
More suckers!!!
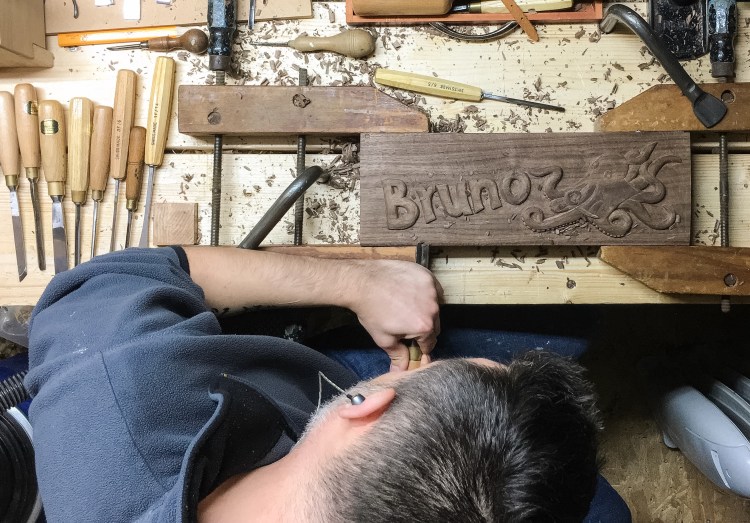
With the details and surfaces done, the background needs final refinement – some more shaping and smoothing with gouges.
I think that’s enough. I am keen to leave some tool marks as I think it fits in with the character of the piece.
With the carving on the lid done, I’ll be putting some final touches on the box and bringing it all together. The particular box form I used is 1,000 years old – but more on that next time.


One thought on “VIKING CHEST FOR A CHILD: CARVING THE LID (PART 2)”