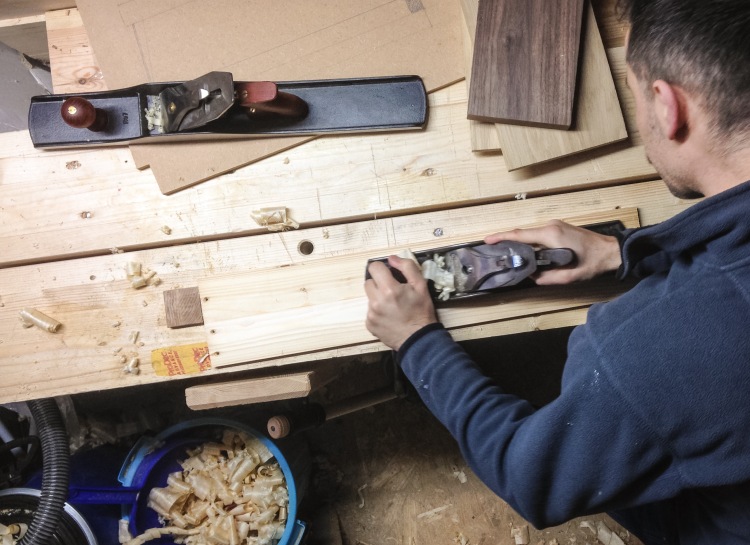
Having carved the lid, we are looking at the rest of the Viking chest today. The form of the box I am making is based on the Mastermyr chest, which is a Viking-made tool chest found in the 1930s in Gotland, Sweden. A farmer, while ploughing for the first time an area reclaimed after draining a lake and a mire, hit on and pulled from the ground an iron chain. The other end of the chain was tangled around an oak box full of woodworking and metalworking tools from the Viking age.

The bog environment preserved the box and its contexts in a remarkably good condition for their age (1,000 years). The chest and some 200 tools and blacksmith-made items, including a few fascinating locks, are held in the Swedish History Museum in Stockholm.

I like the form and the joinery involved. Because the ends and sides are angled in (not square), it’s more fun than a regular box. And because of the joinery, when you glue it up, you have to do it all in one go. It’s a bit like a puzzle piece to assemble.
I wanted the lid to be a single piece of Black Walnut and simply made the box to the size of the lid. The bottom is in red pine reclaimed from an old bed, and the oak is reclaimed from a furniture door panel I got from a commercial joinery shop as an offcut.

The maker of the original Mastermyr chest used wooden nails made of oak in the construction and I follow suit. I made the wee wooden dowels by hand in oak. I arrange them in twos for a bit of rhythmic, visual cohesion.

The nails in the ends get slotted and receive tiny wedges in black walnut. The pattern created by the wedges will be echoed by the pattern I arrange the traditional slot screws for the hinges on the inside of the box.

Before the hinges are installed, the wee chest gets a couple of coats of oil finish. Once those are dry and cured, I follow with microcrystalline wax.

As usual, there are things I would do differently were I to start again, but it was fun to make and there are always further boxes to build and carve!
Click on any image below for a gallery of the finished Viking Chest.


Thank you Jen for your support!
LikeLike
Just beautiful!
LikeLike
Thank you 😊
LikeLike