

Most importantly, the edge is now centred. I grind a bit more than I need since I will be removing the chips in the edge and increasing the bevel angle, therefore shortening the blade. This will widen the edge again. I may need to fine tune it later. This is an ongoing maintenance aspect anyway and is very quick to do.
While at the grinder, I also take off the mushroomed sections at the top of the iron and the chipbreaker. This is a bit awkward to do since visibility is greatly reduced at the angle you need to hold the blade at (unless you want to introduce a bevel). If you fancy giving one of your kannas a similar treatment but feel a bit apprehensive, you can just forego the grinder and use a file. The top half of your kanna will be made of either soft steel or iron, and will be very easy to work by hand.

After grinding, I finesse the surface slightly with a second cut metal file. My intention is to rust blue the exposed bare metal later in order to somewhat blend these areas in.

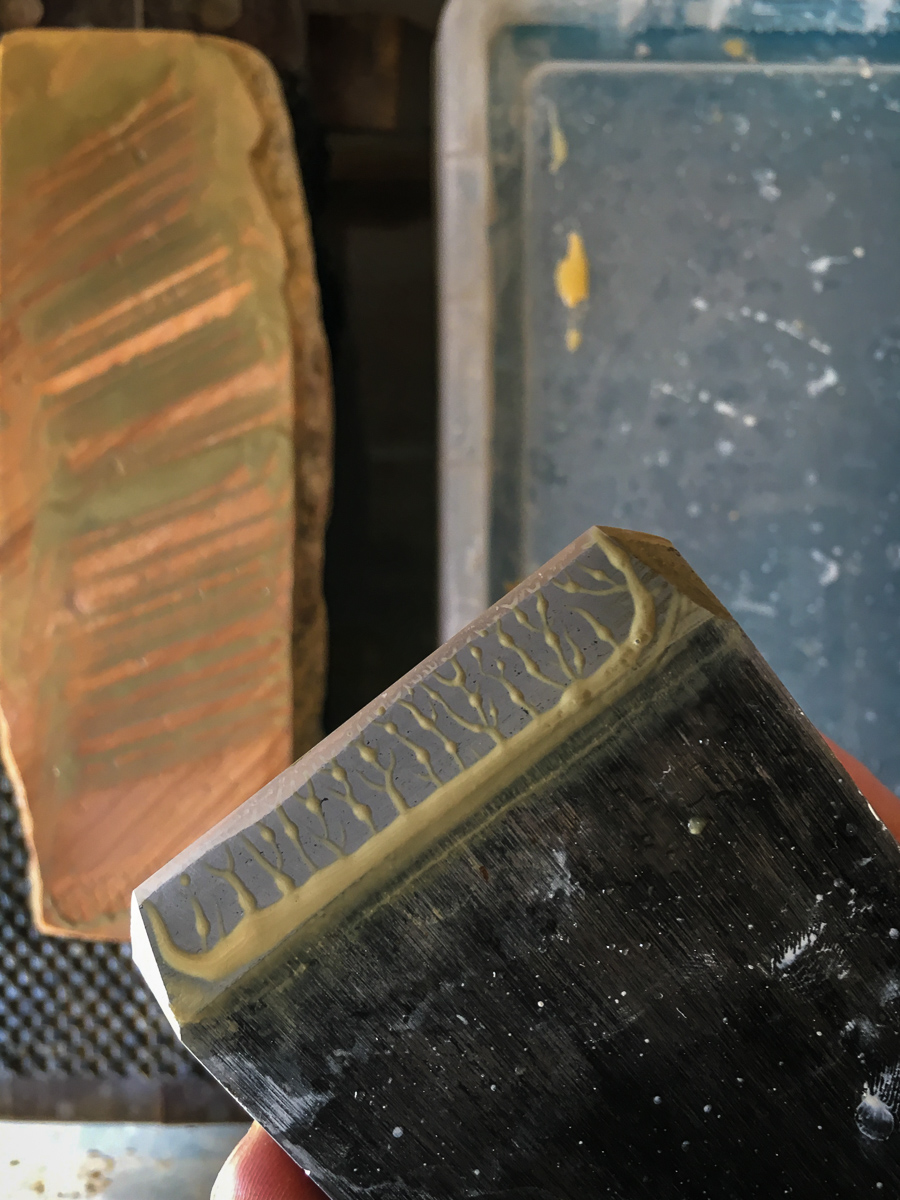
I now turn my attention to the edge itself, and that shallow bevel angle. My first concern is to widen the flat on the back of the blade. I alternate tapping out with lapping on a medium stone. I prefer to take things gradually, and once I recover a couple of millimetres, I start on the bevel.
The bevel angle is a big job. I prefer to do it by hand, with the blade in a guide and on a rough stone.
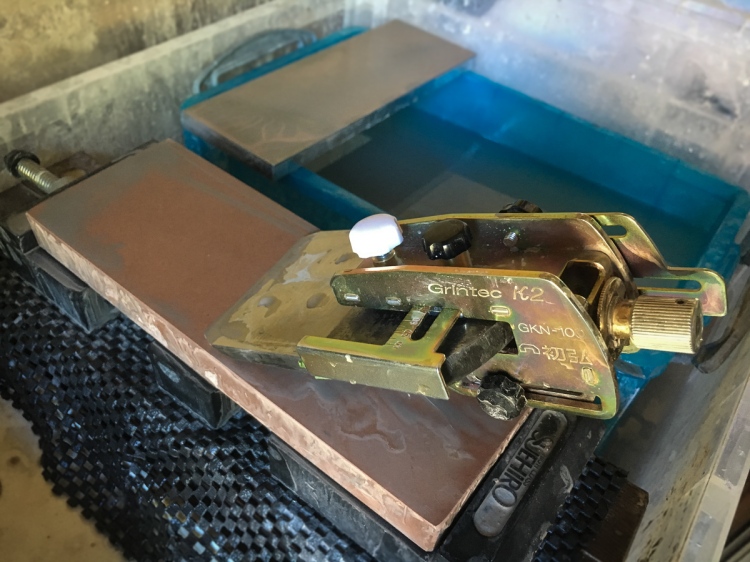
An audiobook keeps me company; this takes a significant amount of time and effort. An aggressive and firm stone helps.

As the angle on the bevel starts building up, and the blade shortens, I return to the anvil for more tapping out and some lapping on the back again. I then alternate the tapping out and lapping the back with longer sessions of working on the bevel. This steel is hard and tenacious…

It is important to note that this blade took a lot of tapping. The very shallow angle made the bevel long and thin; my feeling is that this may present an increased risk of cracking the blade. In any case, I try and spread the taps over a wider area to ‘massage’ the steel forward gradually, and cushion the steel side (I just use a folded card or newspaper).

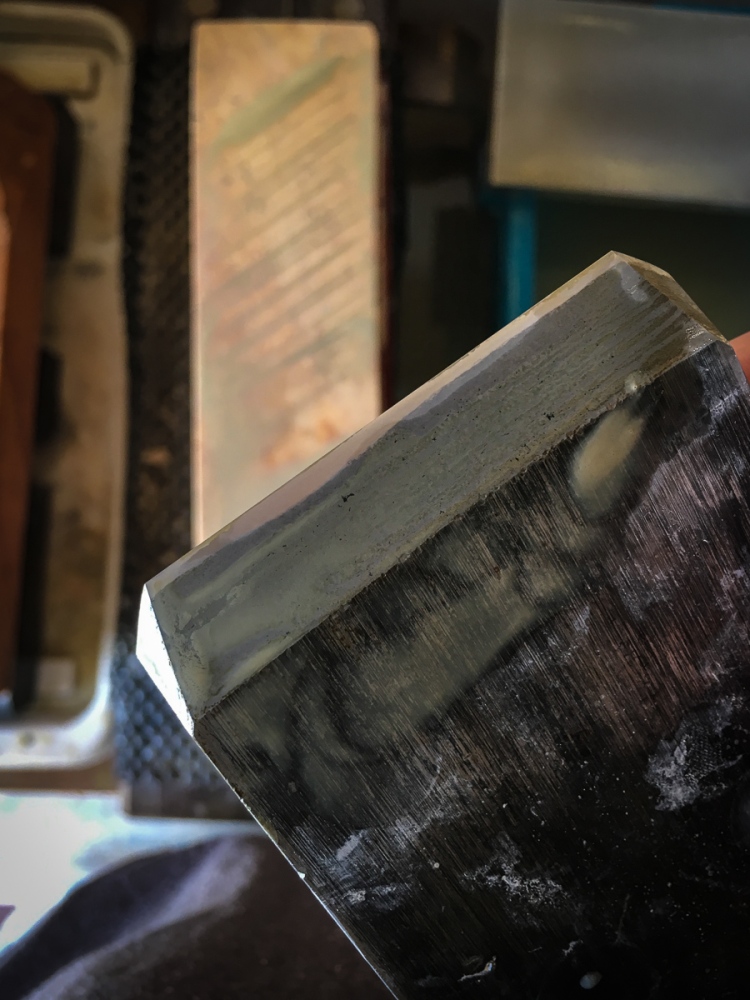
It is also important to note that it is not strictly necessary to establish the full length of the bevel at the new angle – and it can be argued that it is somewhat wasteful to rid the blade of precious hard steel in the process. I do it in this case but I would be happy to settle on maybe 3/4 length or so for practical reasons. Once I am satisfied with the bevel geometry, I correct the ears once again. I fine tune them with a medium synthetic stone.
I then take the blade through my sharpening procedure to work up a fine finish.
As I noted in the previous post, the chipbreaker already has its geometry set up to my liking and, as a result, is fairly straightforward to prepare. It is an absolute pleasure to see a chipbreaker of this quality; it is of meticulously laminated steel construction and inspires 100% confidence. It aspires to be treated as equal to the main blade.
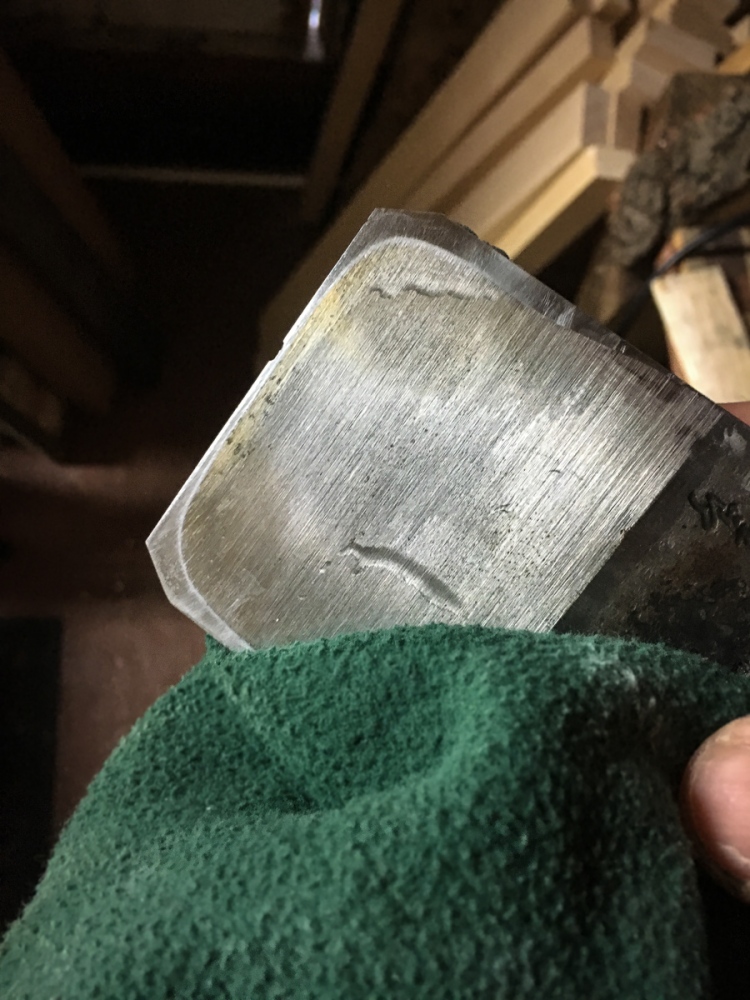
I flatten the back (including minor tapping out in one corner), and then work up the finish up to my fine stone.

I work on the back, the main bevel and the micro bevel.
In the next, last instalment, I will look at fitting the chipbreaker to the blade, and correcting the dai. Stay tuned!

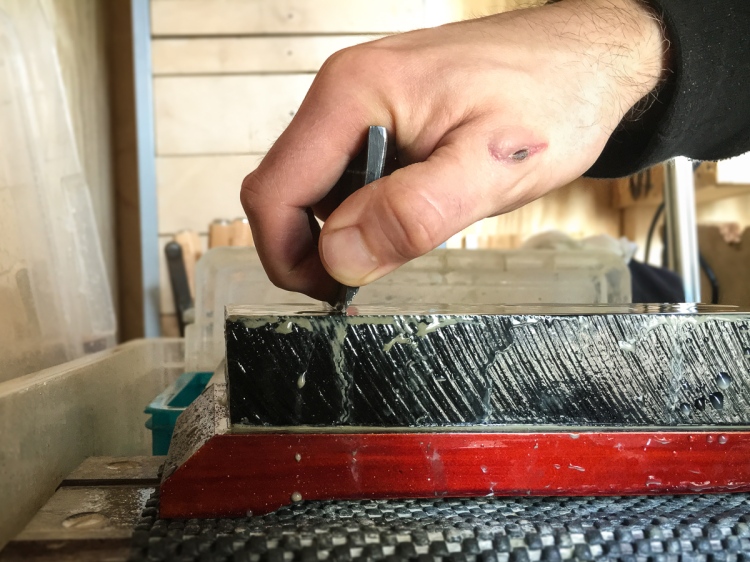
Nice dai. Too bad about the gouge marks. You might consider using an epoxy bedding compound colored to match the wood to fill those holes, although they probably won’t negatively influence performance.
Keep up the great work! Stan
LikeLiked by 1 person
Thank you Stan, I thought that it has little to no real impact too and decided to keep it as is… part of the history of this particular tool.
LikeLike
How is the super blue steel to sharpen?
LikeLike
In my experience it depends on the stone. I have a kiita that makes it *relatively* easy, and Aizu and Tsushima are good for it in lower grits. Still prefer pure carbon, though. 🙂
LikeLike
I have had Super Blue blades in the past, buy have since dumped them. Hard to settle on anything other than Shirgoami No. 1 or Aogmai No.2 anymore. Super Blue is just too irritating to sharpen, IMO.
LikeLike
Thank you for sharing that, Stan. As I mentioned I too have a preference for the ‘regular’ (Super-less) kanna, and especially WS/Swedish/Inukubi variety. I hope I did not sound arrogant at any point, it was not until I found a stone that is a wonderful match for BSS that I truly started enjoying sharpening of BSS kannas.
LikeLiked by 1 person